Making a basic callout only takes a few steps in Titler Pro.

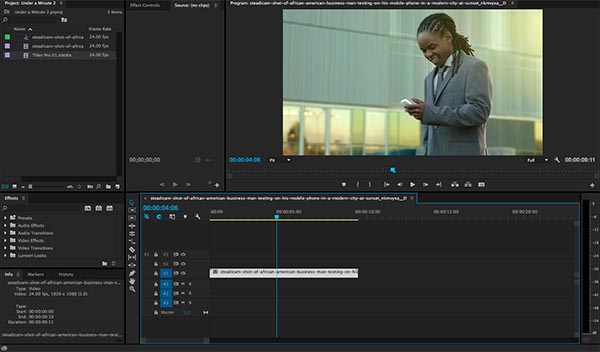
First, open your video editing program and import a video clip to begin working on.
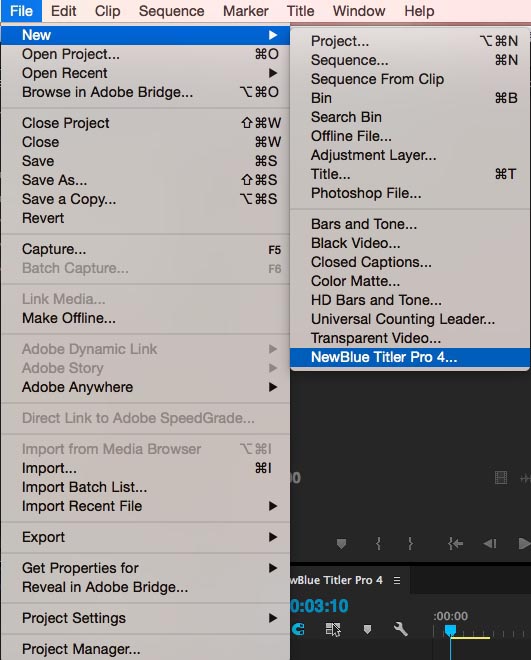
Next, add an instance of Titler Pro by going to File>New and selecting Titler Pro 4 in Premiere Pro. To learn more about using Titler Pro in other video editing programs, see Adding Titles in Your NLE.
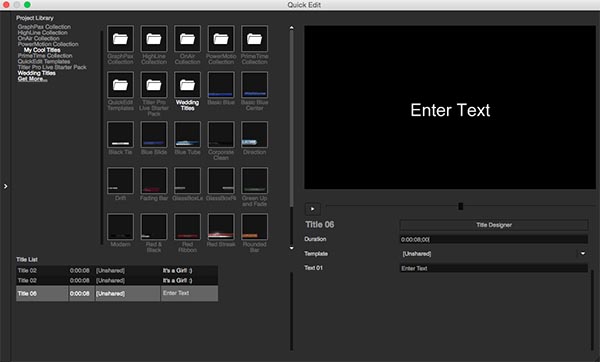
This will open the Quick Edit window. To learn more about Quick Edit, see Quick Edit.
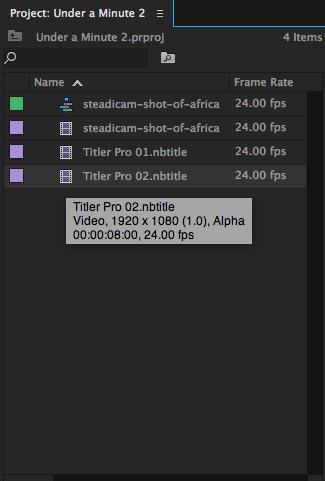
Close the Quick Edit window to see that a new Title has been added to your Bin.
Click and drag that title on the track above your video clip.

Double-click on your title to open Quick Edit again and set the view mode to "Video Background" under settings if it is not already. To learn more about settings, see the Quick Edit Menu.
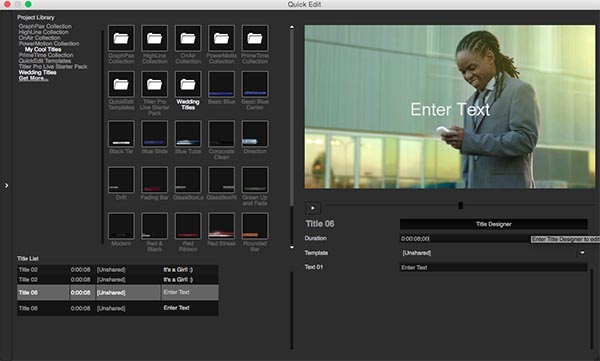
Click on Title Designer to start editing your Title. To learn more about Title Designer, see Title Designer.
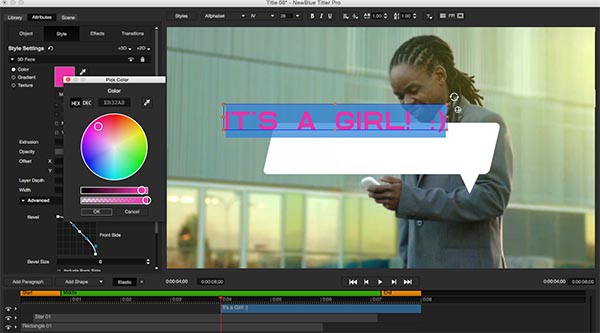
Delete the "Enter Text" Paragraph. Click on "Add Shape" and select "Rectangle." Adjust the shape however you like.
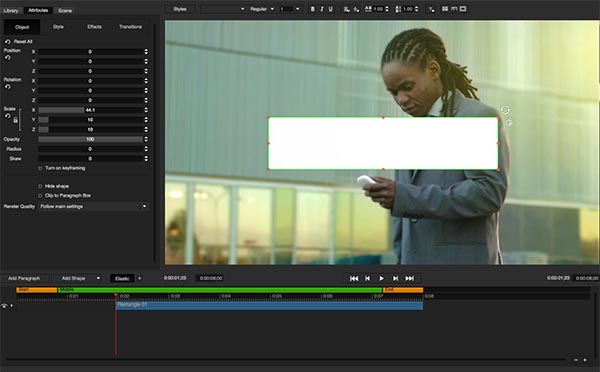
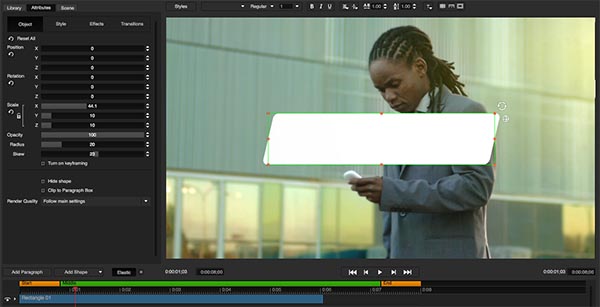
Once the Rectangle has been made, adjust the Radius and Skew sliders in the Objects tab to add curves and skew your rectangle. To learn more about the Objects tab, see Objects Tab.
Next, add a star shape and change the points to 2 in the Object tab to create a diamond shape.
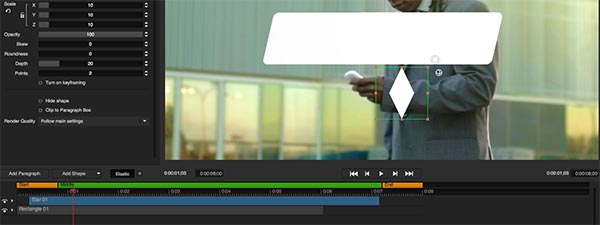
Align the shapes to create a callout shape.

It's time to pick a font and enter your text from the Text Toolbar on top. Add a new paragraph by double-clicking on the Workspace area. Then type your text and select your color in the Style Tab. To learn more about colors and textures, see Style Tab.
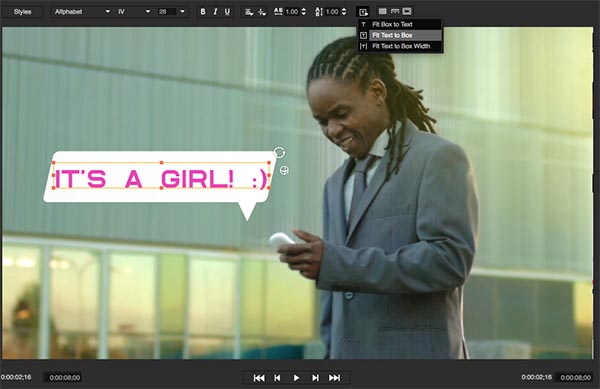
Change the Text Fit Mode to Fit Text to Box to easily adjust the size of your text with the scale handles. For more information on Fit Modes, see Text and Guidelines Toolbar.
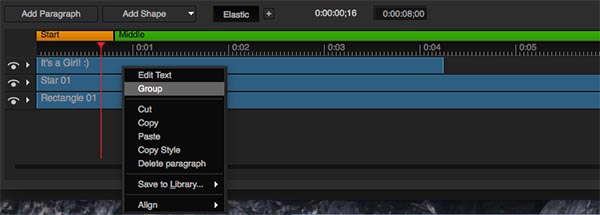
After your paragraphs have been aligned, it's time to group them. This lets you move and scale all your paragraphs as if they were one single object. To learn more about grouping, see Grouping.
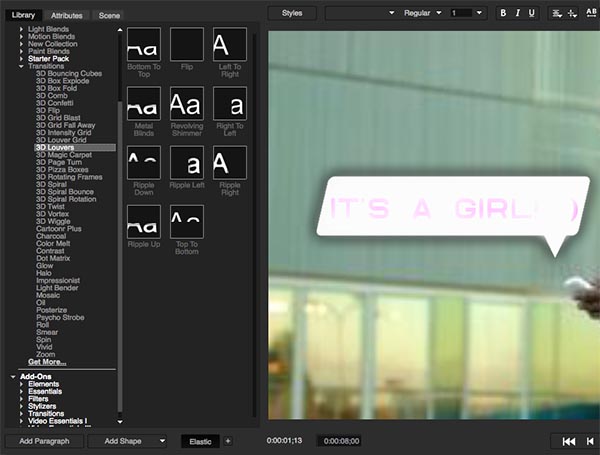
Once the Paragraphs have been grouped, we can add transitions from the Library. This time we're going with the 3D Louvres transitions. To add a transition, simply click and drag it to your timeline. To learn more about effects and transitions, see Effects and Transitions.
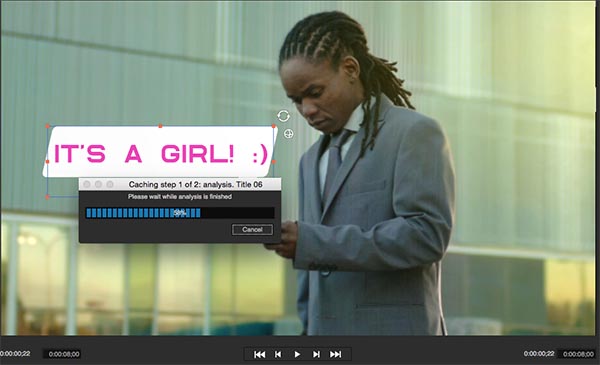
After adjusting your transition's settings, you’ll be ready to render your Title. Close Title Designer and wait for Title Analysis to take place. To learn more about Title Analysis and Render Caching, see Caching and Performance.
The Title is ready to be exported with your project.
Your project is now complete.