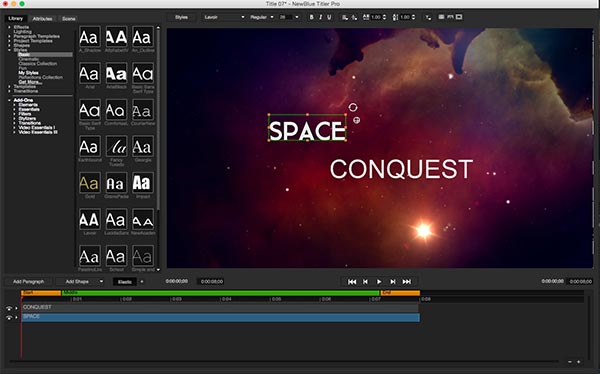
Making a basic Title only takes a few steps in Titler Pro. Follow these instructions to make a Title like the example below in minutes.

Open your video editing program and select the clip you want to use as a background.

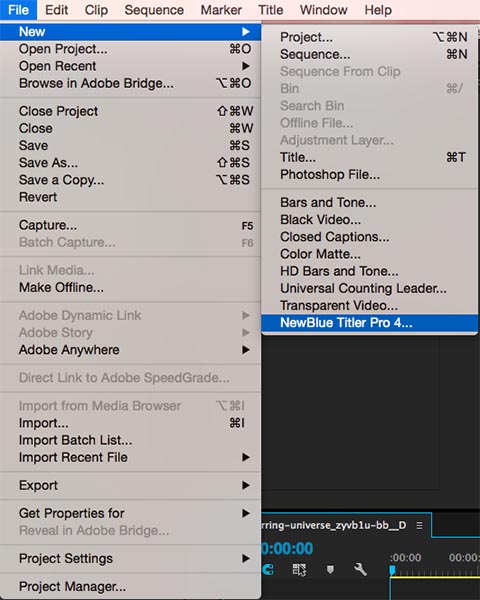
Add a new Titler Pro Title to your project. This tutorial uses Premiere Pro. To learn how to add an instance of Titler Pro in your NLE, see Adding Titles In Your NLE.
This will open the Quick Edit window. To learn more about Quick Edit, see Quick Edit.
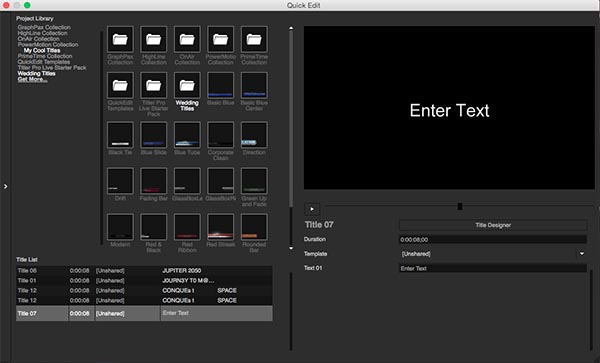
Click on the Title Designer button to enter Title Designer. For information on the Title Designer Workspace area, see Workspace Area.
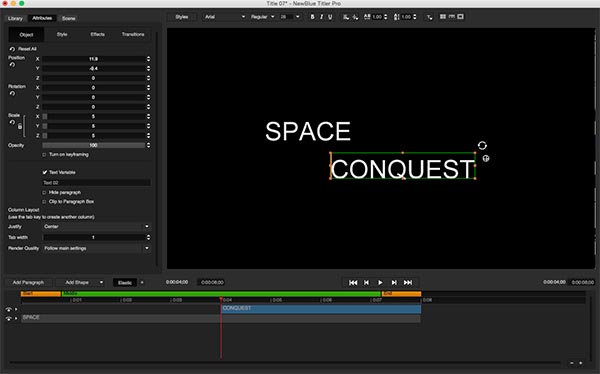
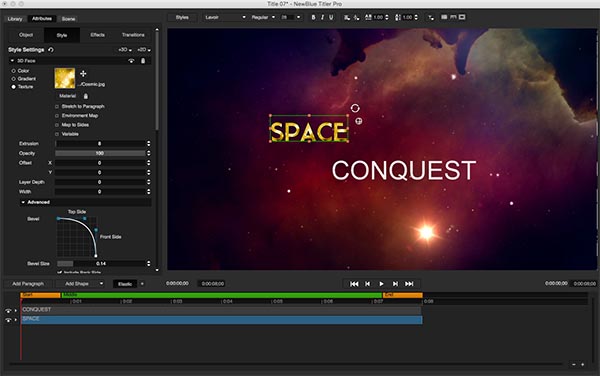
Enter your text. You can add another paragraph by double-clicking the workspace area or clicking "Add Paragraph" button above the timeline.
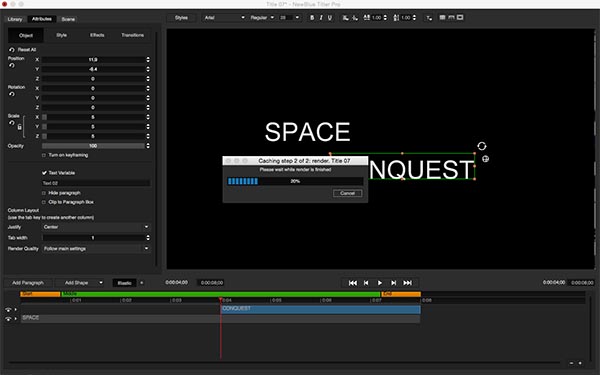
Close out of the Title Designer and wait for caching to take place. For more on caching and how to enable or disable it, see Caching and Performance.
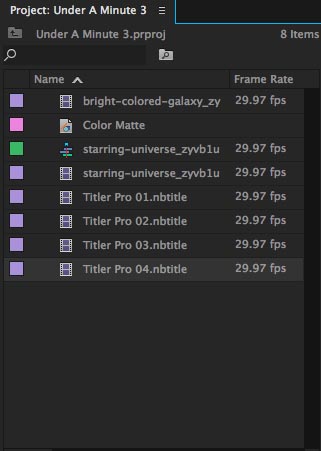
A new Title will be added to your bin. Depending on your NLE, the Title may already be in your timeline.
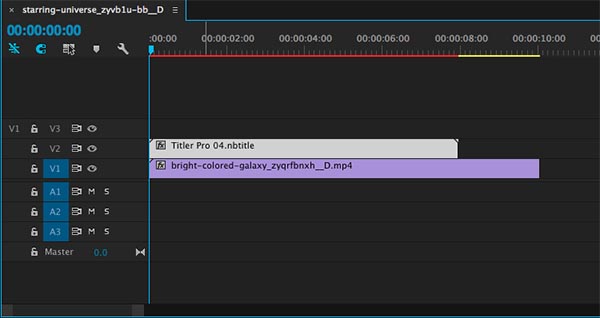
Click and drag the title on top of your background video.
Double-click the Title to open the Title Designer interface. Click on a paragraph and navigate to the Library tab.
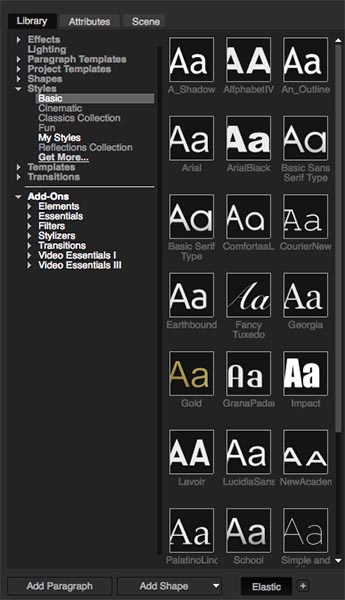
Navigate to the Styles > Basic section and double-click on the Lavoir style to apply it to a paragraph.
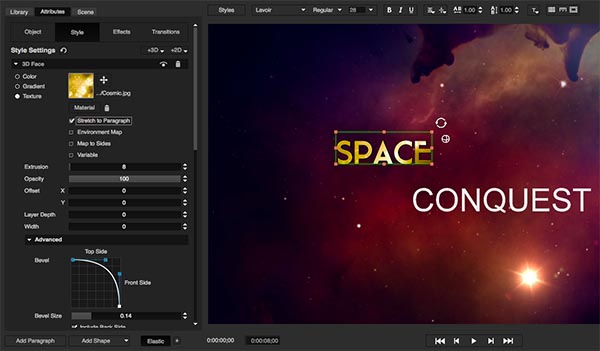
Next, click on the Attributes tab and select Style. Click on the Texture radio button under 3D Face and then on the color/texture swatch to browse your computer for a texture.
Here we will use a Cosmic texture. To learn more about applying textures and the Style tab, see Style Tab.

The texture will be applied to your Title.
Next, check the "Scale to Paragraph" box. This will scale the texture to fit your paragraph.
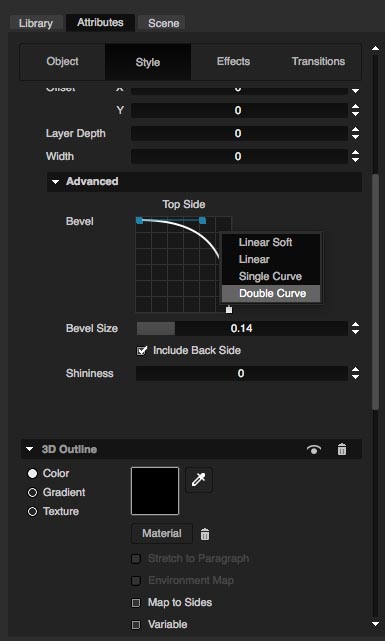
Next, it's time to add a bevel to your title. Navigate to the advanced area in the Style tab and right-click on the bevel design grid to select a bevel preset.
For this project, we will be using the Double Curve.
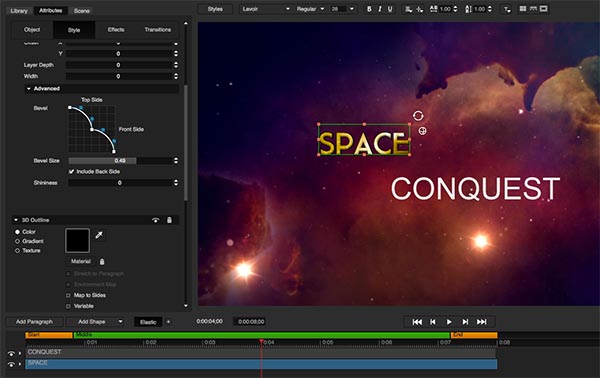
Slide the Bevel Size slider to adjust the bevel to achieve your desired look.
Once completed, right-click on your paragraph and select Copy Style.

Right-click on the second paragraph and select Paste Style.
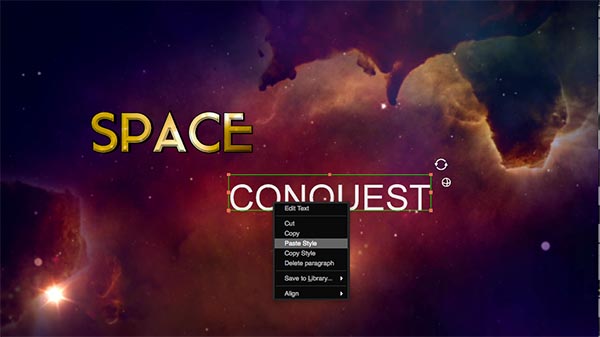
The style changes should be applied and match the first paragraph.

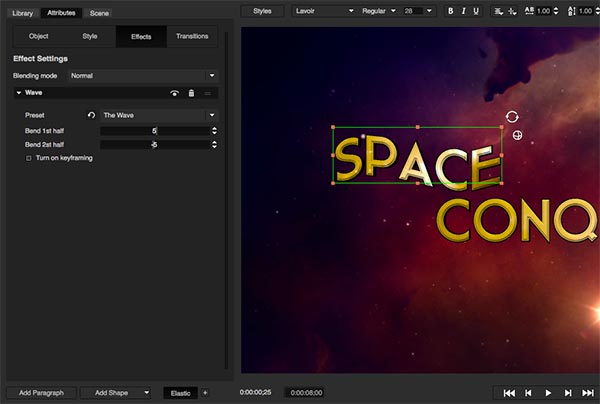
Navigate over to the Library and browse the Effects area. Select the Animation section and select the Wave effect. Click and drag on "The Wave" preset and apply it to your title.

Edit the values in the "Bend 1st half" and "Bend 2nd half" and repeat the process with the second paragraph.
Now in the timeline select both paragraphs, right-click and select "Group" to group the paragraphs together. For more information on grouping, see Grouping.
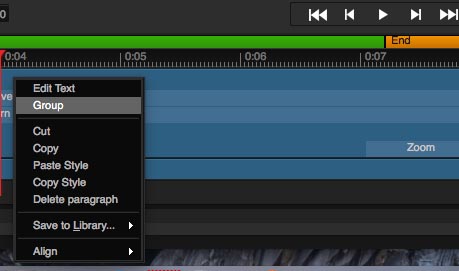
You should now be able to resize and position both paragraphs as one object.

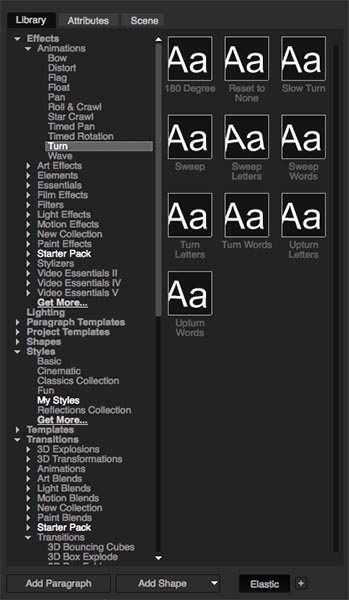
Return to the Library and browse the Effects section. Select Animations > Turn effect. Click and drag the "Slow Turn" preset to the grouped paragraph.
Navigate over to the Library again, select Transitions > Zoom transition. Select the "Centered Zoom Blur" preset and drag it to both the beginning and the end of the Title in the timeline.

Adjust the length of the transition in the timeline by clicking and dragging the end of the transition in time.

Play the Title to preview the effects and transitions.

The title is now complete.