This article applies to older versions of Selective Touch Up. Click here to see the latest tutorial.
Selectively smoothes the image inside an arbitrarily shaped area. Use Selective Touch Up to smooth skin imperfections or reduce image issues like film grain or video noise.
Setup
Place this effect on the clip and click on Show Mask so you can easily see the affected area. Designate an area of the image that will be smoothed with the Shape controls. Then turn off Show Mask and adjust Smoothing to touch up the image.
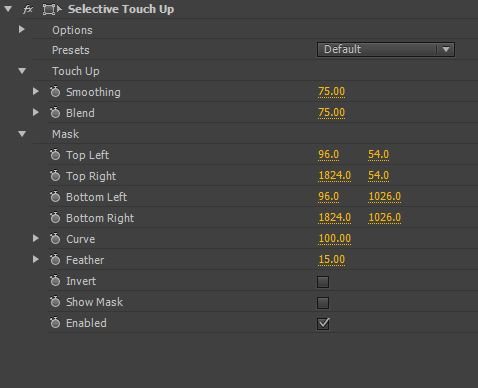
- The Mask group sets the area that is to be smoothed. Drag the control points to adjust the four corners. Use the arrow keys to further fine tune.
- Curve sets the roundness of your Shape. With Curve set to 100, your shape will be an oval. With Curve set to 0, your shape will be a rectangle.
- Feather determines the sharpness of the edge of your selected focus area. With Feather at 0, the edge of the focus area will be sharp and clearly defined. As you increase Feather, the edge of the focus area will start to blend with the out of focus area, for a more natural appearance.
- Enabling the Show Mask option displays the area outside the selected region as a negative image. This makes it much easier to define a region using the Shape controls.
- Enable Invert to smooth the area inside the selected shape.
- Check the Enable box to smooth only inside the selected shape. With Enable off, the entire image is smoothed.
- Smoothing adjusts how much the image gets smoothed.
- Blend blends the smoothed image together with the unsmoothed image. Use this for even greater control over the smoothing level, or turn it up to 100 for maximum smoothing.