When you customize graphics in the Title Designer, you can create a group of different objects which allows you to customize all objects in a group at the same time as if they were one object. You can move, scale, and keyframe groups, as well as apply effects and animations to groups. You can also modify individual objects in a group.
Note: The Title Designer and the features described in this article are not available in Titler Live Express.
What do you want to do?
Group objects
- In Titler Live's playout interface, select a graphic in the playlist, then click the Edit Title Design button in the Attributes panel.
- In the Title Designer, select the objects that you want to group. There are several ways to select objects:
- Click outside of an object, on a blank space, in the workspace, and drag the pointer over the desired objects.
- Click next to a layer in the timeline and drag the pointer over the desired layers.
- Press CTRL (Windows) or Command (Mac) and click on each object in the workspace or timeline that you want to select.
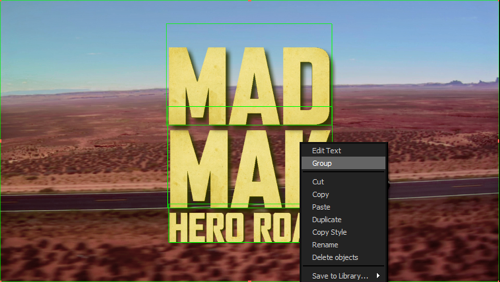
- Right-click (Windows) or Control+click (Mac) on one of the objects in the timeline or workspace and select Group from the context menu.
A blue bounding box appears around all grouped objects in the workspace.
Tip: To keyframe a group of objects, see Animate objects with keyframes.
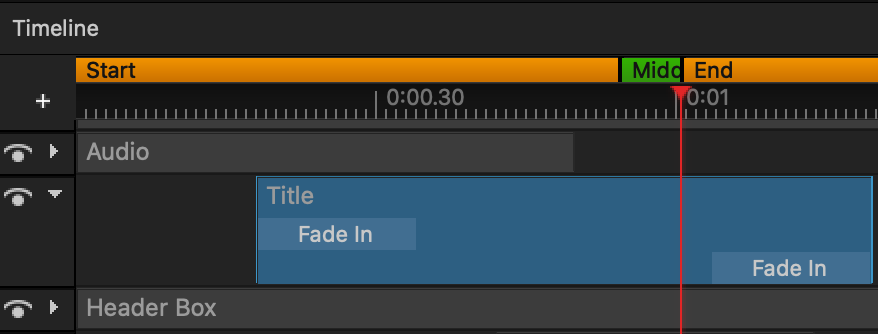
View objects in a group
Click the expand/collapse arrow on the left side of a group in the timeline.
Customize one object in a group
Expand a group of objects in the timeline, select one of the objects, and customize the object as you normally would. (Note that you can't reposition an object independently of its group.)
Tip: See Add styles to text and objects for information about customizing objects with style layers, colors, textures, and more.
Ungroup objects
Right-click (Windows) or Control+click (Mac) on a group in the workspace or timeline and choose Ungroup.